Put the Plastic Bag inside the White t-shirt now you can use your colors. T-shirt drawing is so easy and fun and its a great craft for family reunions or weddings.
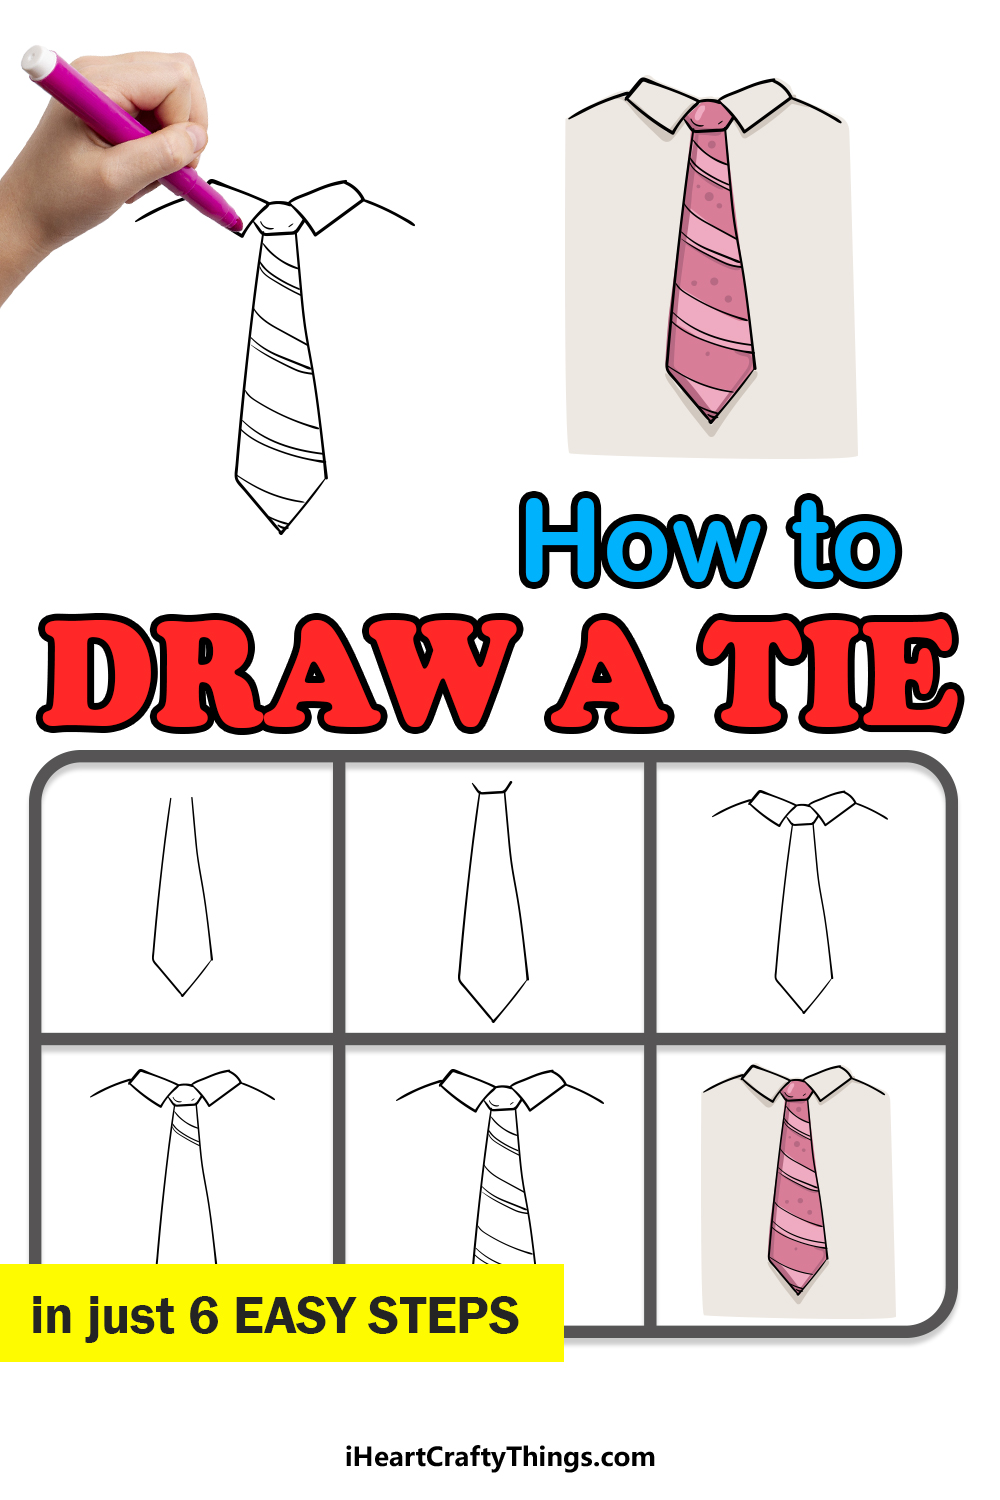
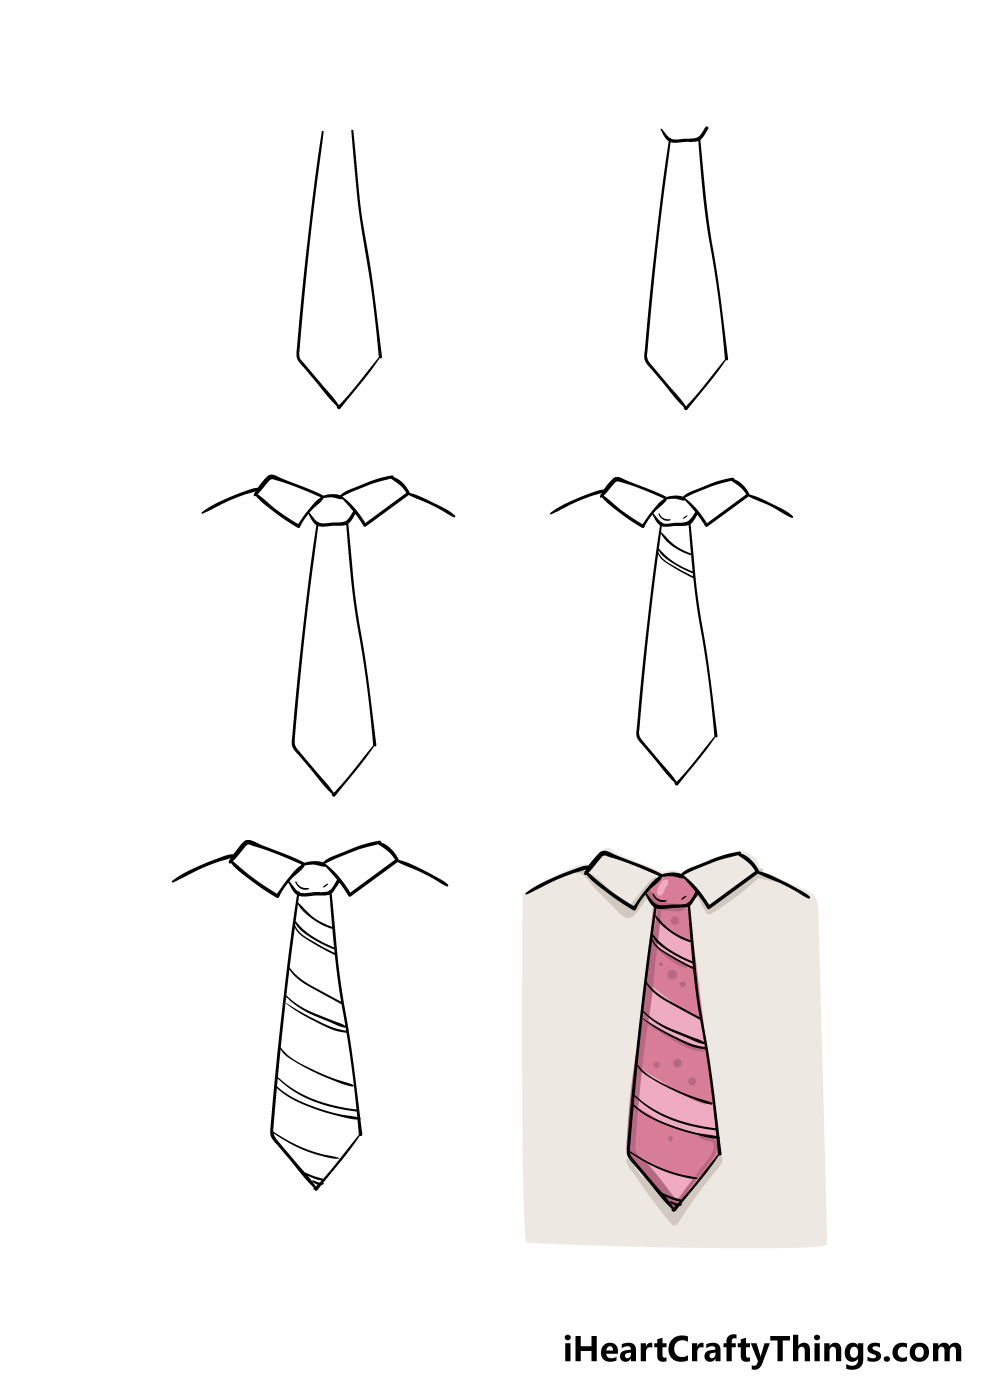
Tie Drawing How To Draw A Tie Step By Step
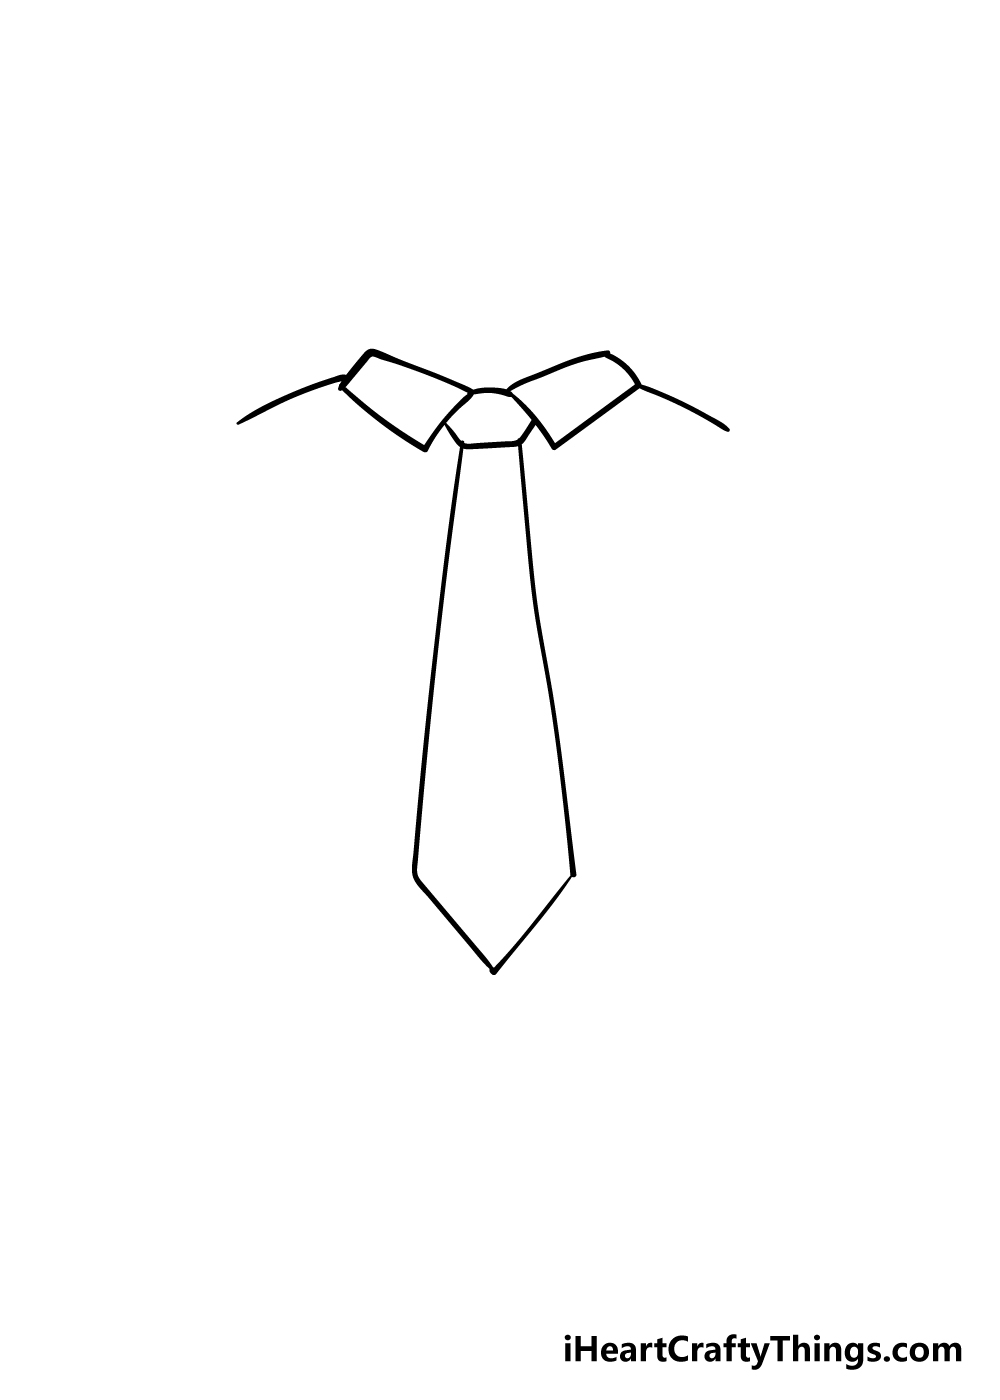
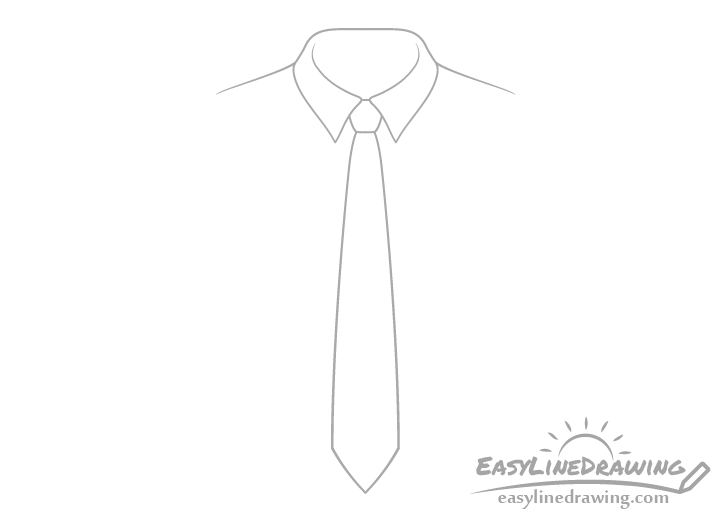
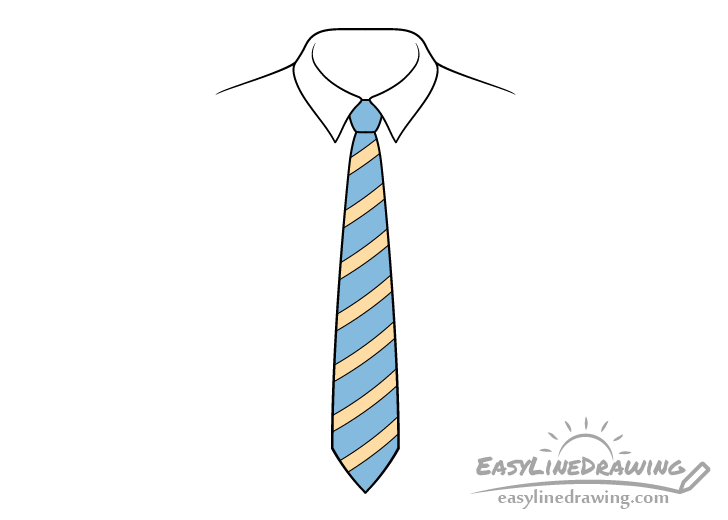
Add two diagonal lines coming down from the left and right of the knot.
. Step 1 Slide a thick piece of cardboard inside the T-shirt. Step 1 Basic shapes. Grab part of your shirt and bunch it up in your hand.
Visually theres just way way too many. Draw a small square between the collars just below where the triangles meet. You can use a small brush to select the drawing.
Sketch out two triangles for a shirt collar where the neck meets the torso. Draw an Outline on the Shirt. A fail proof rule is to start with the shirt.
Step 2 Now we are sketching a part of the T-shirt that closes the upper part of the arms. Step 3 А very simple step where we sketch out the neck and make shoulders a little higher. Step 3 Seal your design into the shirt by pressing it gently with a hot iron for just a few seconds.
After you are happy with the position rub it to securely seal it to the fabric. Create more lining in the same pattern and style as you did in step two. This will make tying the knot easierStep 2 Tie a simple bun knot for a classic look.
Bring your index finger and thumb together to make an O. Shake the bottle of black paint and spray in thin layers all across the. This will keep the Sharpie from bleeding through to the other side of the T-shirt while you are working.
Secure the fabric to the board using the rubber bands that came with your tie dye paint. To draw the sides of the tie draw short angled lines out from the bottom of the square. Heres how to draw a tie on a boy.
Everyone loves those graphic tees and with this How to Draw on a T-Shirt tutorial from Patty Biehler you can design your own tee shirt with ease. The basic shapes are a triangle inside of a square base. Draw this cute Tie by following this drawing lesson.
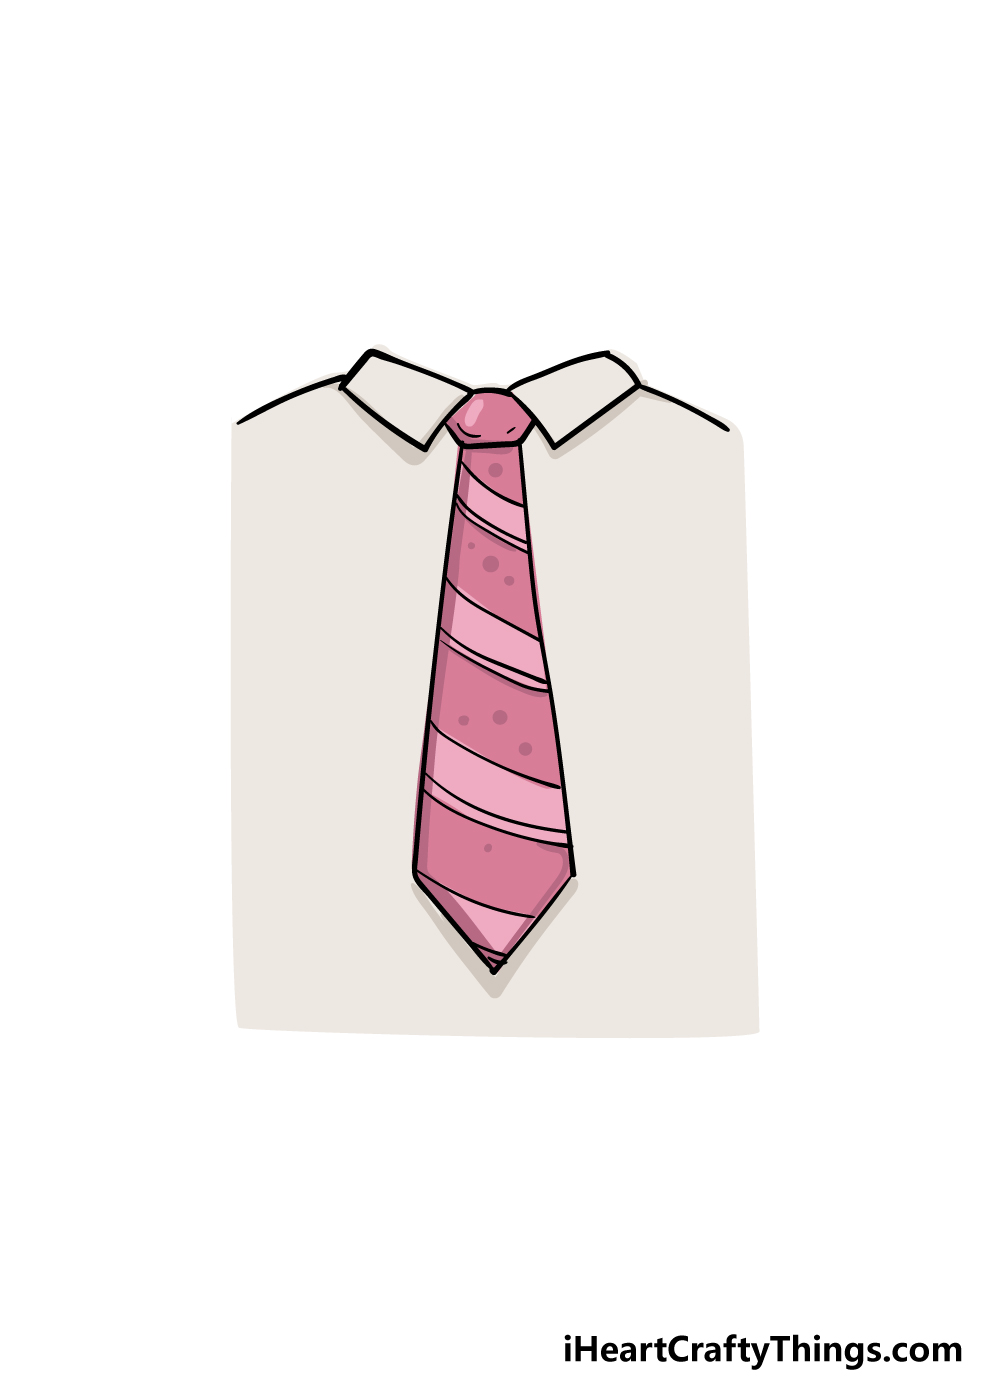
The basic necktie is made up mostly of triangles and one small square shape. Start by separating the basic shapes visually before drawing. Slide the hem of your shirt through the O until the fit is snug around your waist.
Add a small upside-down pentagon shape for the knot of the tie. To add a front tie draw a tie piece on to the bottom of the pattern. Draw the top knot of the tie.
Never wear a tie and matching pocket square or a plaid tie with a plaidgrid shirt. Place this between the collar triangles. Starting in the center begin drawing the crinkled lining to create a spiral.
Put a piece of wood or foam board inside the shirt or bag. Tie rubber bands around your shirt if you want a tie-dye design. Put some paper or cardboard inside the shirt to protect the back from any ink.
Then remove your safety pin. Gather and pleat the shirt accordion style folding as tightly as you can. There is a tip for you when it comes to choosing color for a suit and tie that your own tie should be darker than the shirt.
This square represents the ties knot. Step 1 So lets first outline the part of the T-shirt that covers the torso usingf such a rectangle. How to Draw on a T Shirt.
Im using a Frixion pen that disappears with heat which is great because it will disappear when I. Get The Markers HERE httpsamznto37ZBdoN. Ask Question Step 4.
Repeat on other sections of your shirt. The pleats dont have to be the exact same size and probably look more natural with variable widths. These lines are more distinctive than anything and will help create the tie dye look when you add the colors.
Step 2 Top knot. I made it 7 long and 3 wide at the widest point. Tightly wrap a rubber band around the base of the bunch to hold in it place.
Use your pen for drawing. Start the first step by drawing a large swirl design. Step 2 Draw on the shirt as you desire.
Plaid Tie with Gingham Shirt I loathe anything too matchy-matchy. For a button up like this start the tie past the button placket along the center front. Read Next Zipper T-Shirt Refashion.
Draw the collar of the shirt with two triangles attached to the left and right side of the neck. Step 3 Long tie shape. Step 1 Put on a baggy t-shirt.
Remove the safety pin and knot the ends of the drawstring. If youd like to prevent the drawstring from sliding back into the casing tie a large knot at each end of the drawstring. Carefully stick the negative sticker to the fabric.
The first RULE of THUMB on how to choose a tie. The spots you bunch up wont get dyed in the dye bath creating the tie-dye effect. If you want you can use black and white colors to put your special touches like lighting and shading.
Build the primary color of the shirt before choosing the tie with a similar color anywhere in its pattern. Tighten your thumb against the fabric. Learn How to draw a Tie for Kids easy and step by step.
Draw a boys head neck and shoulders. The longer looser the shirt is the more fabric you will have to work with. Pull the drawstring until both ends are equal lengths.
Grab something you can use to draw on the shirt that can come out later. Now you can use your new T-shirt. Then you will also need to cut a facing piece for the tie which is.
Ive even seen some menswear shops merchandising their products like this and its one of my biggest fashion pet peeves Shugar said.
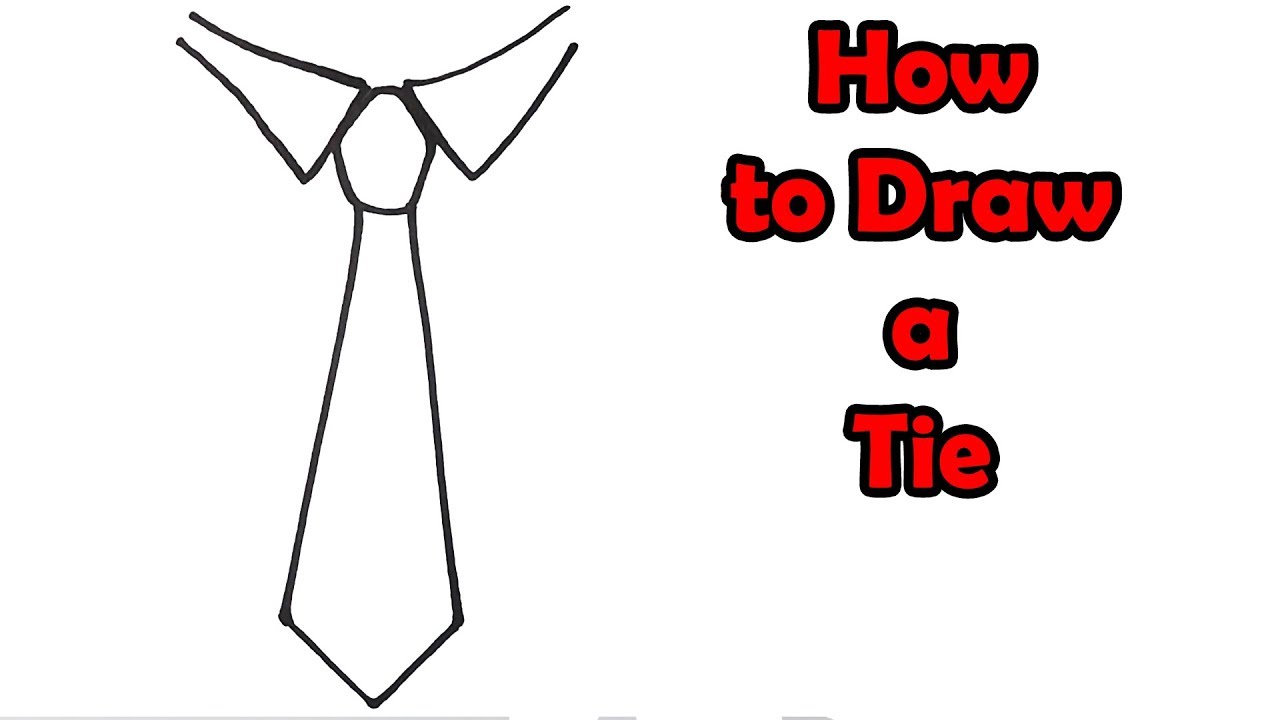
Tie Drawing How To Draw A Tie Step By Step
How To Draw A Tie Step By Step Easylinedrawing
Tie Drawing How To Draw A Tie Step By Step
Tie Drawing How To Draw A Tie Step By Step
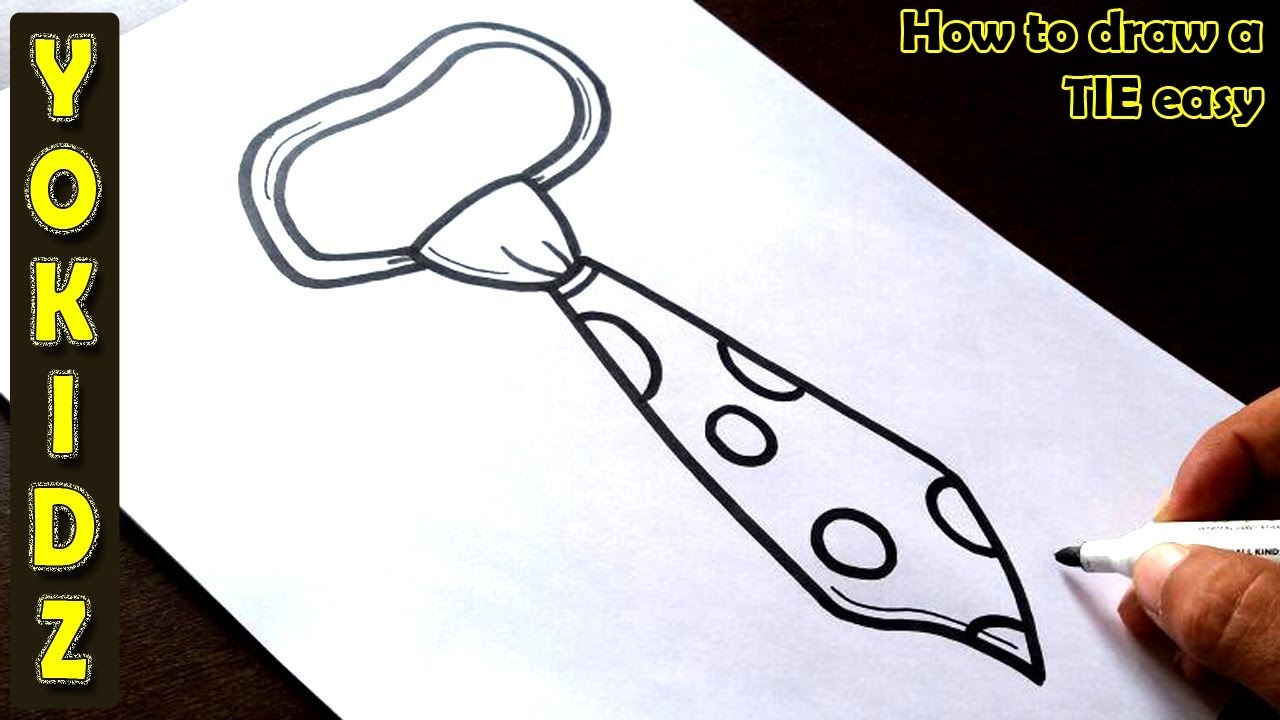
How To Draw A Tie Easy Youtube
How To Draw A Tie Very Easy For Kids Youtube
How To Draw A Tie Step By Step Easylinedrawing

How To Draw A Tie Step By Step Tie Drawing Lesson Youtube
0 comments
Post a Comment